| Bulgaria * December 2003
|
| <<-- Previous --Index-- Next -- >> |
 ur
ur  hristmas
|
|
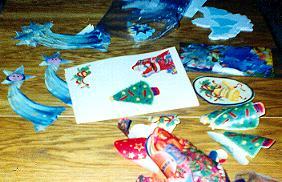
1. Greeting cardsmade by children with glued pieces cut out from
wrapping papers. Skills practiced:
|
|||
 The materials used: Wrapping paper cuttings and cardboard. |
 |
|
|||
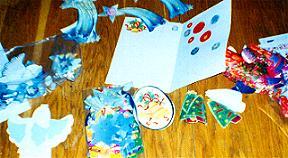
| 2.
Invitation cards made by folded heavy white and coloured paper. Skills practiced:
|
 |
On the back of
the cards a colourful label with text is glued.
So, this were our Christmas and New Year greeting and invitation cards, which we gave to parents and sent to guests. |
|||
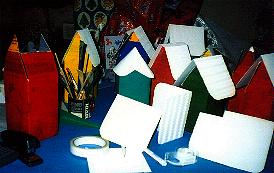
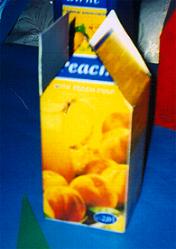
| 3.
Juice box houses This little houses are made of 2 liter juice boxes. Every child makes his own, of course with the help of teachers. When it's finished, in the opening of the doors and windows we put pictures of the child. We are preparing a big school made from 4 boxes glued together. In it's windows we will show pictures of groups of children. |
Here we
show the steps for making a juice box house:
1. Take a juice box and cut it's top with a knife, or strong scissors. |
 2.Cut two opposite sides in the form of a triangle, and fold the other two sides in the shape of a roof. | |||
 |
3. Now,
you can give the cut and folded boxes to the children to paint all
over. We used tempera colours, as they cover well and are cheaper.
|
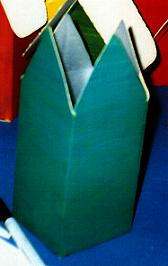 Another way to cut a roof. All sides are triangular. They fold to form a pyramid. | |||
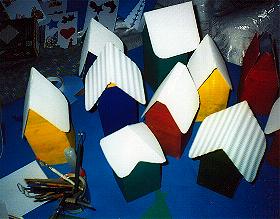
| 4. Now, a job for teachers: we cut out the roofs from heavy white paper, or cardboard. We fold them and give to children to glue on top of the ready painted boxes, using double sided adhesive band. |
|
 | |||
 |
5. And
now we can make the stands. We draw the bottom contour of the box on a
square piece of paper, and cut from inside diagonals to each corner of
the drawing. We then fold the four pieces upwards, and cut them a little bit
to make them lower and oval.
Each house is inserted into a stand. |
 | |||
| 6. In
the meantime we have given the children the liberty to make doors and
windows according to their own taste. They can be painted, or cut out of
coloured paper. To spear the children the trouble of cutting through the ready window, we make the shutters out os separate pieces of strong paper. We help them with the fold gluing of the tiny pieces, so that the doors and windows can be opened. |
7.
Children cut out their pictures and glue in the openings of doors and
windows.
To have more options with the size of the pictures, I scann children's photos and resize them to fit the openings. |
 We used other scanned pictures to trim our cardboard Christmas tree with. | |||
|
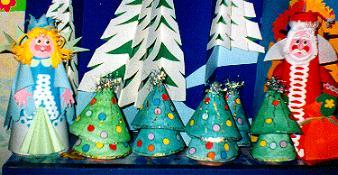
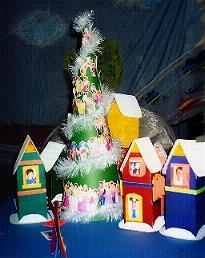
Now the roofs and the stands are white, for the Christmas occasion.
On March 22 we will change the roofs with red ones, and make the stands green, imitating grass. Then we will change the pine trees around with blooming spring trees. For summer we'll make other changes. |
That's all about our Christmas village. | ||||
| Here you see the Christmas trees which children made after I showed them pictures send by our Belgian partner Sonja. |
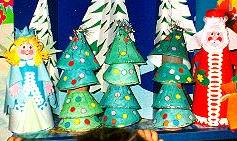 |
 Our trees look a little different, but that's how the children decided to do them | |||
|
|
|
The full explanation how to make them, you can find in the Belgian site, as described by Sonja. | |||
| We have other Christmas crafts to display, but we need some more time. | Visit our site soon!!! | ||||
  |
|||||